How to change your VPS plan
Changing the tariff plan to VPS
🔹 How to change the plan via Client Area
The plan upgrade feature is available directly in the Client Area, in the same section where Backup and OS Template are located:
1. Log in to the Client Area.
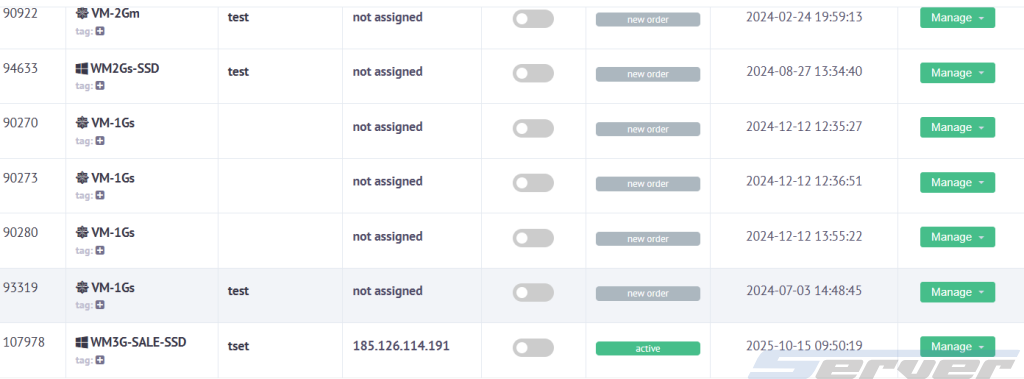
2. Go to Orders → VPS Hosting.
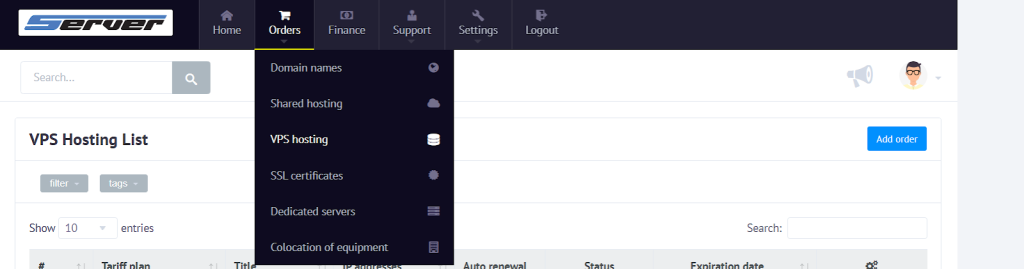
3. Select the required VPS.
4. In the menu, click Change Plan.
🔹 How to upgrade the plan
1. In the Change Plan tab, you’ll see a list of available plans.
2. Select a new plan (upgrading is only possible to a higher plan with more resources — CPU, RAM, Disk).
3. Click Upgrade.
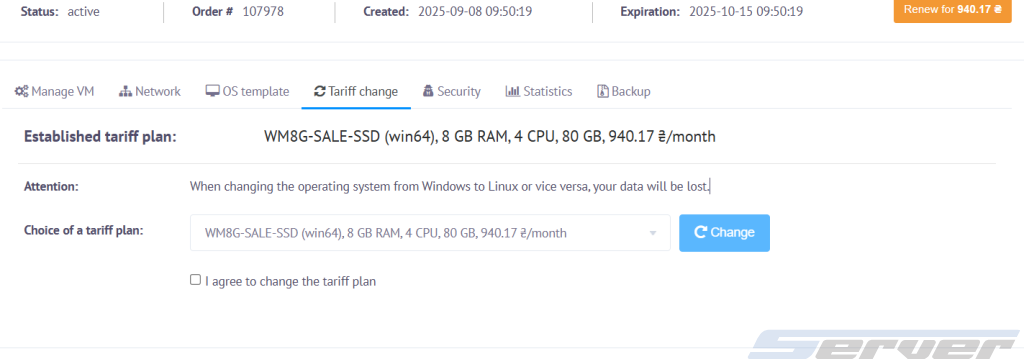
4. Confirm the plan change.
5. The system will automatically recalculate the cost, and your VPS will be upgraded to the new plan.
🔹 When data may be lost
- If you choose a plan with a different operating system (full reinstallation) — all VPS data will be deleted.
- If the order is moved to a new server or platform (for example, when changing location or virtualization type).
⚠️ In most cases, data is preserved during a plan upgrade, but it’s strongly recommended to create a manual backup beforehand.
🔹 After upgrading the plan
After the plan change, the disk does not expand automatically — it must be extended manually.
How to expand the disk:
- Connect to the VPS via SSH.
- Run the following command (for Linux):
df -h
to check the current disk size. - Then follow the guide:
👉 How to expand the disk after changing the VPS plan - After completing the steps, check the size again (
df -h) — the changes should apply.
🔹 Important
- Downgrading to a lower plan (Downgrade) is not available.
- Always create a Backup before making any changes.
- If the disk hasn’t expanded automatically, extend it manually following the instructions above.